


Materials Needed
+ Fabric of choice
+ Scissors
+Matching thread
+Hand sewing Needle
+Pins
+ Marking chalk
+Seam Ripper (optional)
+ Sewing Machine
Here's a quick tutorial on how to make you very own simple throw pillows. This project takes less than an hour and is a quick and easy way to spice up a any drab space. Pillows are also great gifts for friends and family. So let's get to work.

First you want to make sure you have all the necessities you need to make the pillow making process a bit easier for you. Materials needed are listed above.

Once you've picked a fabric you like it's time to get to work. Determine the size pillow you will be making. My pillow is a 16x16 inch pillow. Whatever size you decide on, you want to add and extra inch to that number for your seam allowance. My pillow is marked at 17x17 inches. You want to sew your pillow at an 1/2 inch seam allowance.

Now that your fabric is marked at the desired size cut it out to make two fabric panels. If your fabric has a pattern, be sure to match up your pattern to your liking before you cut it out. Measure twice, cut once. You don't want to waste your fabric by cutting the wrong size pillow.

Next, your going to pin the two fabric panels together right sides facing each other. Don't forget to line up your pattern if there is one. At the bottom of your fabric you need to leave at least a six inch opening for stuffing your pillow into the case once it's sewn together.

I like to use my pins as markers so I don't forget to leave an opening for the pillow insert.

Now it's time to sew. I like to start at the bottom of the fabric where I used my pins as markers. This means you will start about three to four inches from the corner edge. Stitch a few stitches along with a few back stitches before you get one a roll with your sewing. Now continue to sew at an 1/2 inch seam until you reach the corner edge of the fabric.

With your needle still positioned in the fabric, lift the foot of your sewing machine and turn the fabric to continue sewing along the next side. You want to repeat this step on all four sides until you reach the bottom of the fabric where you left you pin markers.

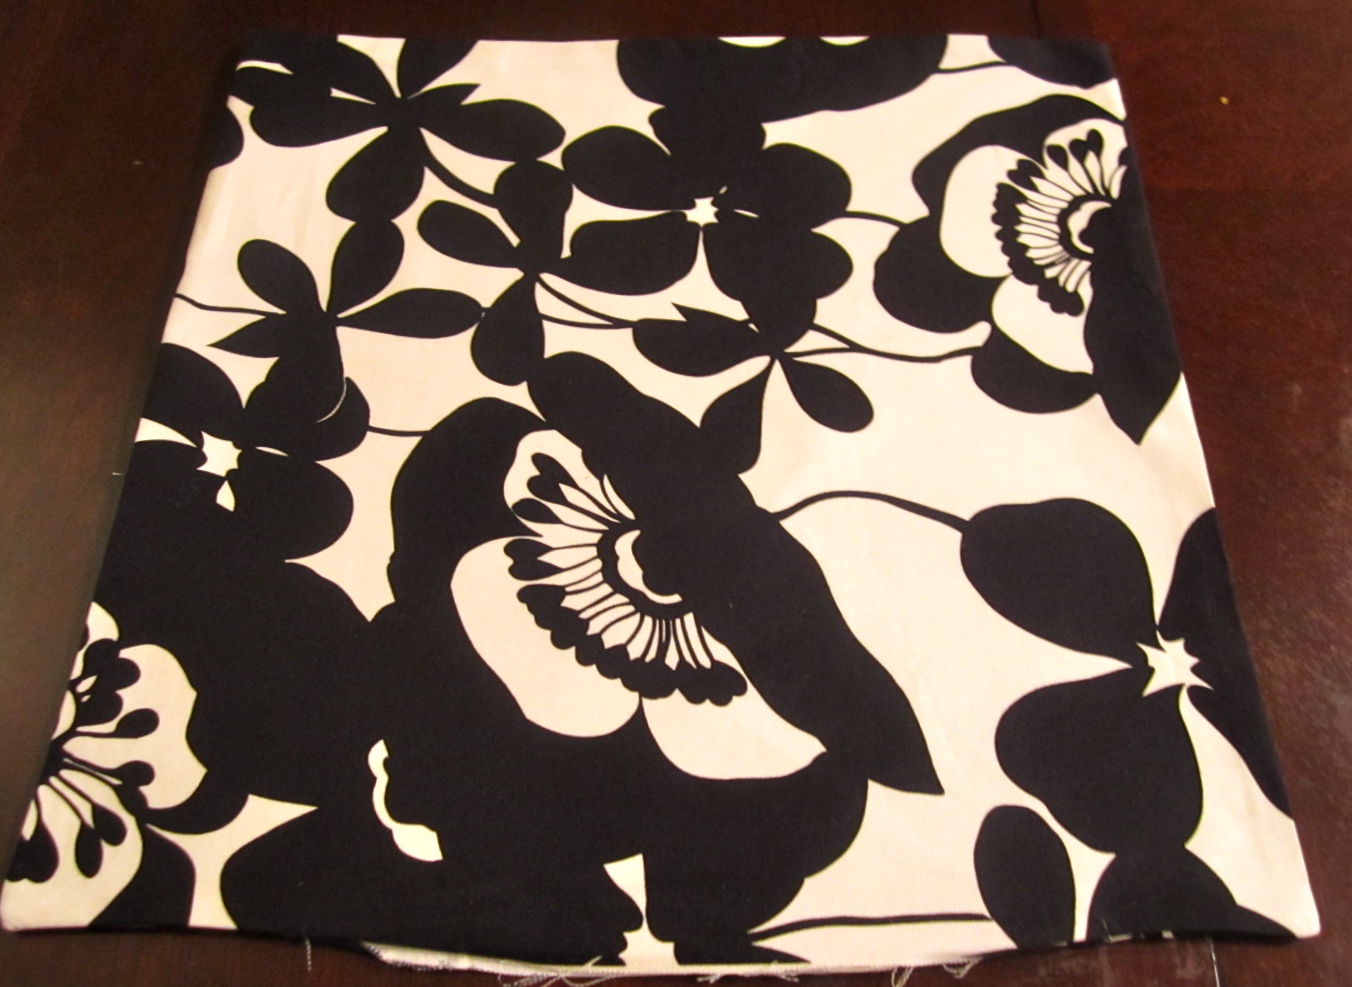
Once your done sewing you should have a pillow case that looks like this.

You can see here where I left an opening at the bottom of the fabric. This will allow me to turn my pillow case inside out and stuff my pillow inside.

Here's a quick tip that I like to use when making pillow. Clip off the corner edges of the fabric on all four corners. This will give you a nice sharp edge when the pillow case is right side out.

Now turn the pillow right side out. Use the tip of something sharp the poke out the edges of the pillow. I use my finger, it works just fine for me.
Your pillow case should look like this when turned right side out. Be sure to iron it if you have any unnecessary wrinkles in your fabric before stuffing your pillow inside. Then stuff away. Some people like to use pillow inserts that are already ready to go, others like to use loose stuffing. Whatever works for you.

Now that your pillow is inside it's time to sew it closed. Fold the opening in about an half an inch and pin both sides together. I like to use a ladder stitch to close my pillows. It's a great way to close because the stitches seem to disappear into the fold of the fabric making the closure invisible. Here's a great YouTube video on latter stitching. It's kinds hard to explain. Easy to do, but hard to explain. Sorry Guy's I'm a visual learner. Ladder Stitch

Once your pillow is closed you are finished.
Hope you enjoyed this tutorial on pillow making. If you are a little more advanced and want to add a zipper closure to your pillow here's a great tutorial from Design Sponge on how to add zippers to a throw pillow. Also if you would like to use other stitches to close your pillow here's a list of a few other options for you to check out over at Fiber Images. Thanks for stopping bye and sewing with me today. Happy Sewing!
No comments:
Post a Comment